My little Bantam

My little Bantam
D7 1966

Monday 28 November 2011

A few tools

A few tools that are required for bantam maintenance
notice the c spanner for getting the exhaust off.......also the oil seal holder tool ....dead handy
here we have various pliers.......the yellow ones are for spring clips etc
The usual screw drivers........notice the old tooth brushes......dead handy for cleaning those little nooks and crannies.......and the offset screw drivers very useful

how long

I have been asked how long are the spacers on the side covers
A shade over 2 inches to my reckoning

Sunday 27 November 2011

Tools

You don't need that many tools to build a bantam .....as time goes on ill picture the tools i use.......here is my small socket set i bought from halfords........there is metric and imperial sockets in there......also a screw driver with various bits.......i also bought the little extension pictured at the side they are really handy and allow you to get around the bike easily ..........i cant remember what i paid for this set but i can say it has been worth every penny

front brakes

 When fitting your front wheel back make sure you fasten the brake plate to the fork leg
I got asked the question why doesn't my front brake work ? one simple thing to check is the brake arm is on the correct way round .........put it the wrong way and the brakes work but not very well !
 Everything looks in order ! cup of tea time !!!!!!!!!!!!!!!!!!!!

Tip for the day !

Hi guys well my tip today is be organised and carry plenty of those little bits you may need........here is a picture of my box of fibre washers cable ties and split pins.........when i visit auto jumbles i tend to buy bits like these then store them in these handy boxes at home so i know i have got those little bits that you tend to forget when ordering parts.......for example when i rebuilt the forks i needed two new fibre washers for the drain plugs hey presto

Saturday 26 November 2011

dont forget !

Of course before pouring your oil in make sure you have fitted the drain plug at the bottom of the fork leg
and don't forget the little fibre washer

Getting there

Slide the fork legs into the stanchions......................
pour in 175ml of 20w/50 oil
put the washer before screwing the top nut on
Add the small nut onto the spring
tighten using a socket set

time for a break !!!!!!!!

coming together

push the stanchion into the fork leg notice the second bush is slid on the stanchion so that the lip rests on top of the fork leg
put a smear of grease on the oil seal so it slides easily onto the stanchion without damage
tighten the oil seal holder down onto the fork leg notice my nice shiny new tool for tightening the oil seal holder up

oil seal

The new oil seal ready to go in the oil seal holder make sure the open end faces down towards the wheel when fitted onto the fork leg and make sure the oil seal holder is spotless
They push fit in i have used some compound to seal them in
i made sure everything was clean and no compound was in the gap in the seal

look at the springs

Look how well the springs cleaned up after the rust remover had been applied (see earlier post for rust remover)
I used my grease remover and elbow grease to make sure they were spotless
Again i used my vice and wood to hold them in place while i worked on them (I'm chuffed)

fitting bushes to the stanchions

this is one of the new bushes for the fork leg.......compared to the old one it seems good quality....notice there is no split in the new one
The new stanchions look the part .......look how rusted the old ones were
Tap the bush to the stanchion (its a tight fit) make sure you use a rubber hammer
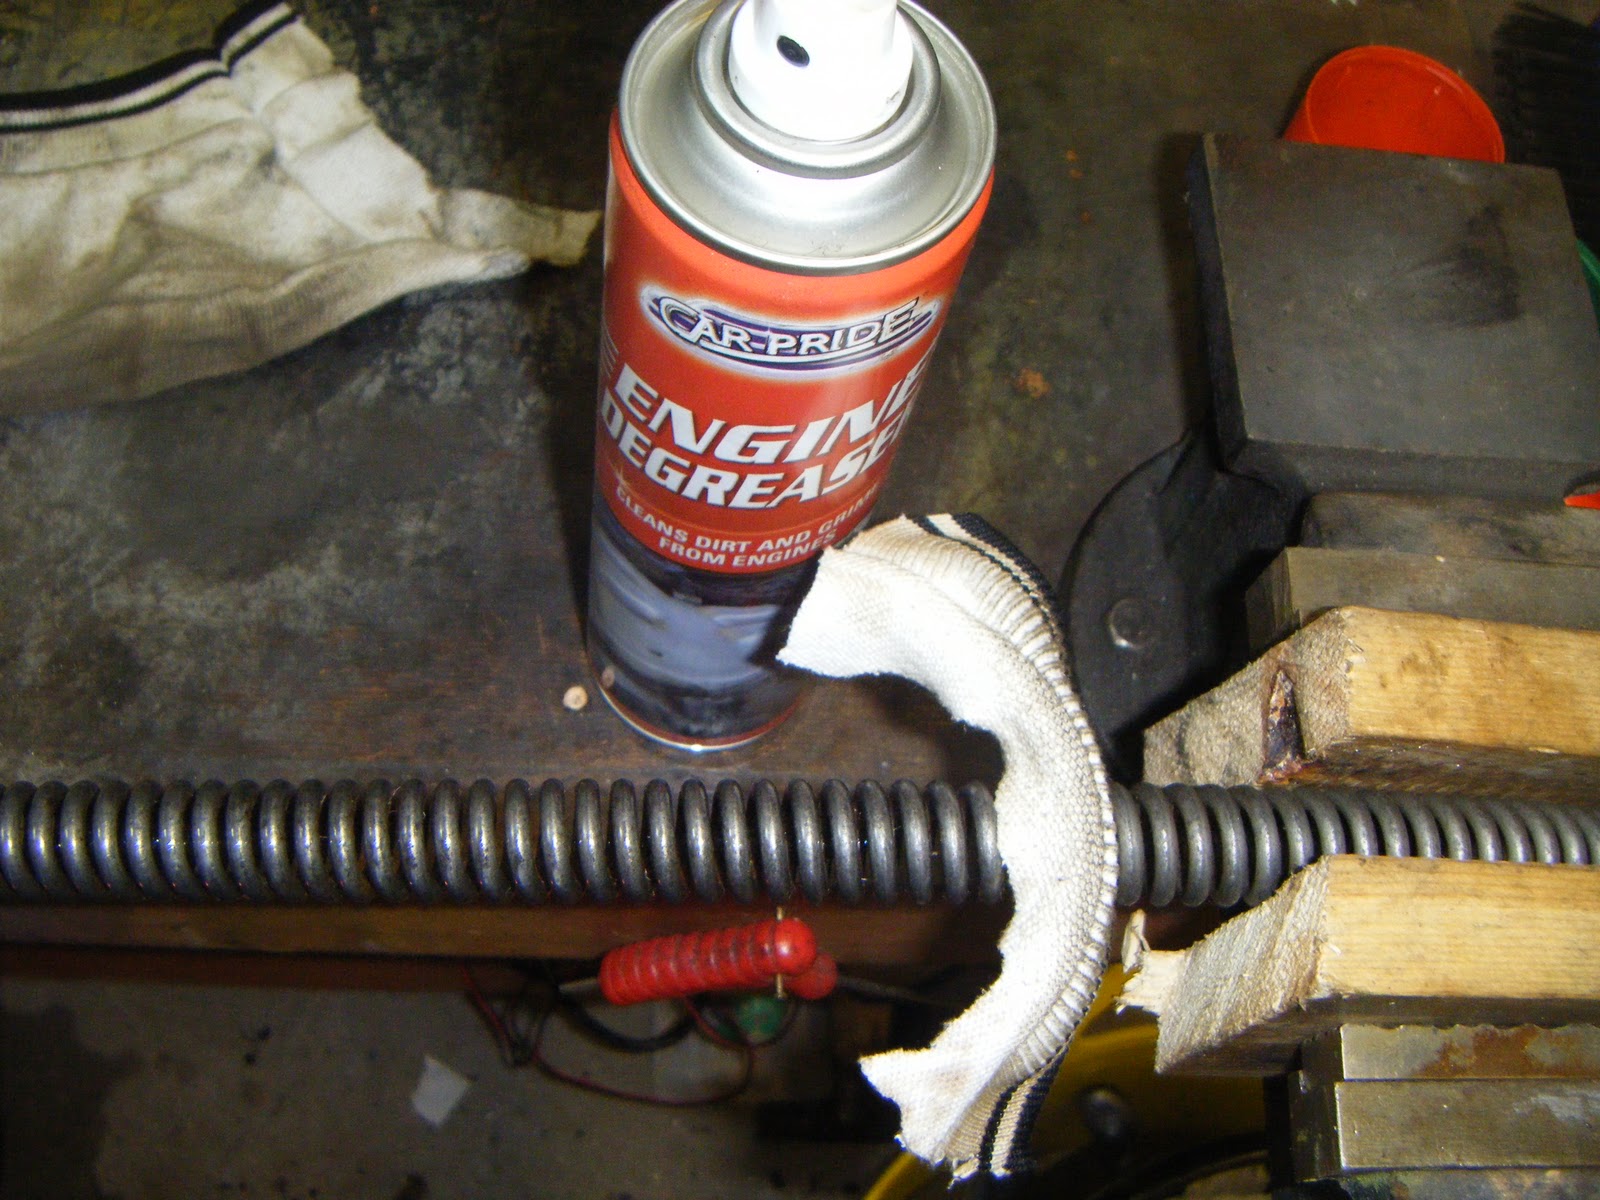
Use a punch to crimp the bush to the stanchion .......make sure all the holes on the bush match the ones on the stanchion then punch it with firm sharp blows.....notice the stanchion is in a vice and protected by wood so you don't damage the stanchion

Friday 25 November 2011

parts arrived !

Well guys my parts have arrived today.....Fork stanchion's-bush kit-fork seals-fork seal holder tool-sprocket and nut/washer-I only ordered these on Wednesday and they are here today (Friday) Thank you Peter (from T&G) Anyhow i will be sorting the forks on Sunday so i will do a detailed and well photographed article on how i did it ......cross your fingers i can get it right !

wiring diagram

I made this diagram of my wiring loom when i fitted a new one.........the modern ones are slightly different and can confuse some of us......i found doing the diagram as i wired things up helped me to understand what made what work and why .......i have done the wires the correct colors too ! i have made several more that feature individual items such as front light or back light etc ......if anyone requires one let me know and i will publish them or email them to you......i know one club member has found them useful when he wired his d7

Thursday 24 November 2011

oil

I bought some 15w oil from an auto jumble at the weekend........i did ask for 20w/50 as per the bantam hand book recommendations but the guy i bought it from said they don't do it anymore and recommended 15w.......to be fair it was perfect for the job but my seals sprung a leak........one of the club members (somerstown) recommended this 20w/50 from ASDA so i bought some ready for the forks when my stanchions finally arrive .....£2.36p for a litre not bad considering each for leg takes 175m ........i could also use it in the gear box if i so wished

little bits !

Some of the parts that i have taken from my front forks while i am renovating them......notice once again how clean they are and they are stored on a clean cloth ready to go

Keep it topped up

When i go into my workshop i always put the battery on to charge more so in the winter as the cold really flattens battery's ......i bought the charger from Flea bay (it needs to be 6volt) for £12 including postage .....if you neglect the battery it wont last long

Stiff Clutch !


I have been struggling with a stiff clutch!!! yes i said clutch!!! any how a few pics to show the said clutch claw getting some attention........Notice how clean and tidy everything is (my hands were filthy) I removed the claw cleaned and re greased.........then oiled the cable ........and using pliers bent the claw back to its original position (technical i know)

keep it clean !

On my journey over the last couple of years i have realised one thing......its most important to keep every thing spotless and clean (its not really in my nature) one of the products i use most of the time is this engine degrease .....it gets rid of muck and grime easily and best of all it costs £1.10 per tin CHEERS

Product information

Good old copper grease.......it helps prevent your little bolts/screws from seizing up......i use it where ever applicable.....this tube has lasted for years .....i have even stepped on it UPS !!!!!!!!!!!!!

Tip for the day !

Tip for the day.........for a couple of pounds i picked this magnetic try up from my local hardware shop......it sticks to the bike and holds nuts /bolts/washers at the same time so nothing is getting lost on the floor !

sorting leaking seals !


Hi i am trying to stop my front fork seals from a bad leak.....on investigation i have realised the fork stanchions are rusty and pitted so i have ordered some new ones....in the meantime i have checked the fork springs and they are in good order BUT they have slight rust on them and i want to eliminate all chances of contamination in the fork oil.......so here is my solution i have put the springs into an old fishing rod tube then filled it with hammerite rust remover here they will stay until I'm ready to fit them.....if you look close at the photos you can see rust coloured gunk in the top of the tube this is the rust and muck coming off them..... the rust remover is from halfords and cost £4.99 it makes up to 2.5 litre of solution i needed less than 1 litre......you mix it with water at a ratio of 1 part rust remover to 9 parts water ......i have also filled the fork tubes with it and similar results are happening (the rust is floating to the top)  

This is the little devil !

Bsa Bantam D7 1966

Well after several requests i have created a blog about my humble BSA bantam.......the idea is to help all bantam enthusiasts to maintain/run there bantys ......this is also intended as a bit of fun and hopefully of some interest to fellow bantam owners